Aseprite is a popular pixel art and animation software available to downlaod at Asprite.org official website. The Move Selection tool is a part of Aseprite software that allows users to move a selected portion of an image or animation to a different location within the canvas.
The Move Selection tool in Aseprite is useful for repositioning elements within a larger image or animation, or for creating complex animations by moving and copying selections over time.
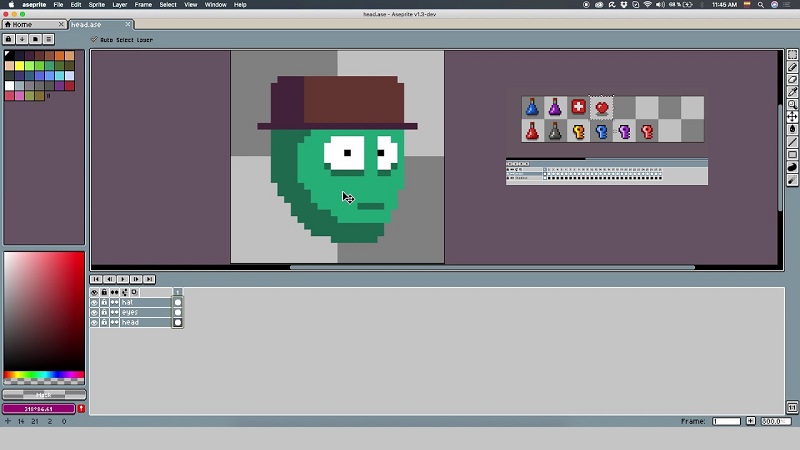
How to Use the Move Selection Tool in Aseprite?
Using the Aseprite Move Selection Tool is very easy and simple. After selecting a part of the active cell, you can move the selected area of pixels dragging and dropping with the mouse or using the arrow keys.
If you are moving a region of pixels from the background layer the selection will be cleared with the active background color. If you move a transparent layer, the region will be cleared with the transparent color. To use the Move Selection tool in Aseprite, follow the steps below:
- Open the image or animation you want to edit in Aseprite.
- Select the portion of the image or animation that you want to move using any selection tool (e.g., Rectangular Marquee, Lasso, Magic Wand, etc.).
- With the selection active, click on the Move Selection tool icon in the toolbar (or press the “M” key).
- Click and drag the selected portion of the image or animation to the new location on the canvas.
- Release the mouse button to drop the selection in the new location.
- You can also use the arrow keys on your keyboard to move the selection by one pixel at a time, or hold down the Shift key while dragging to constrain the movement to a straight line. See the GIF image below to use Aseprite Move Tools.